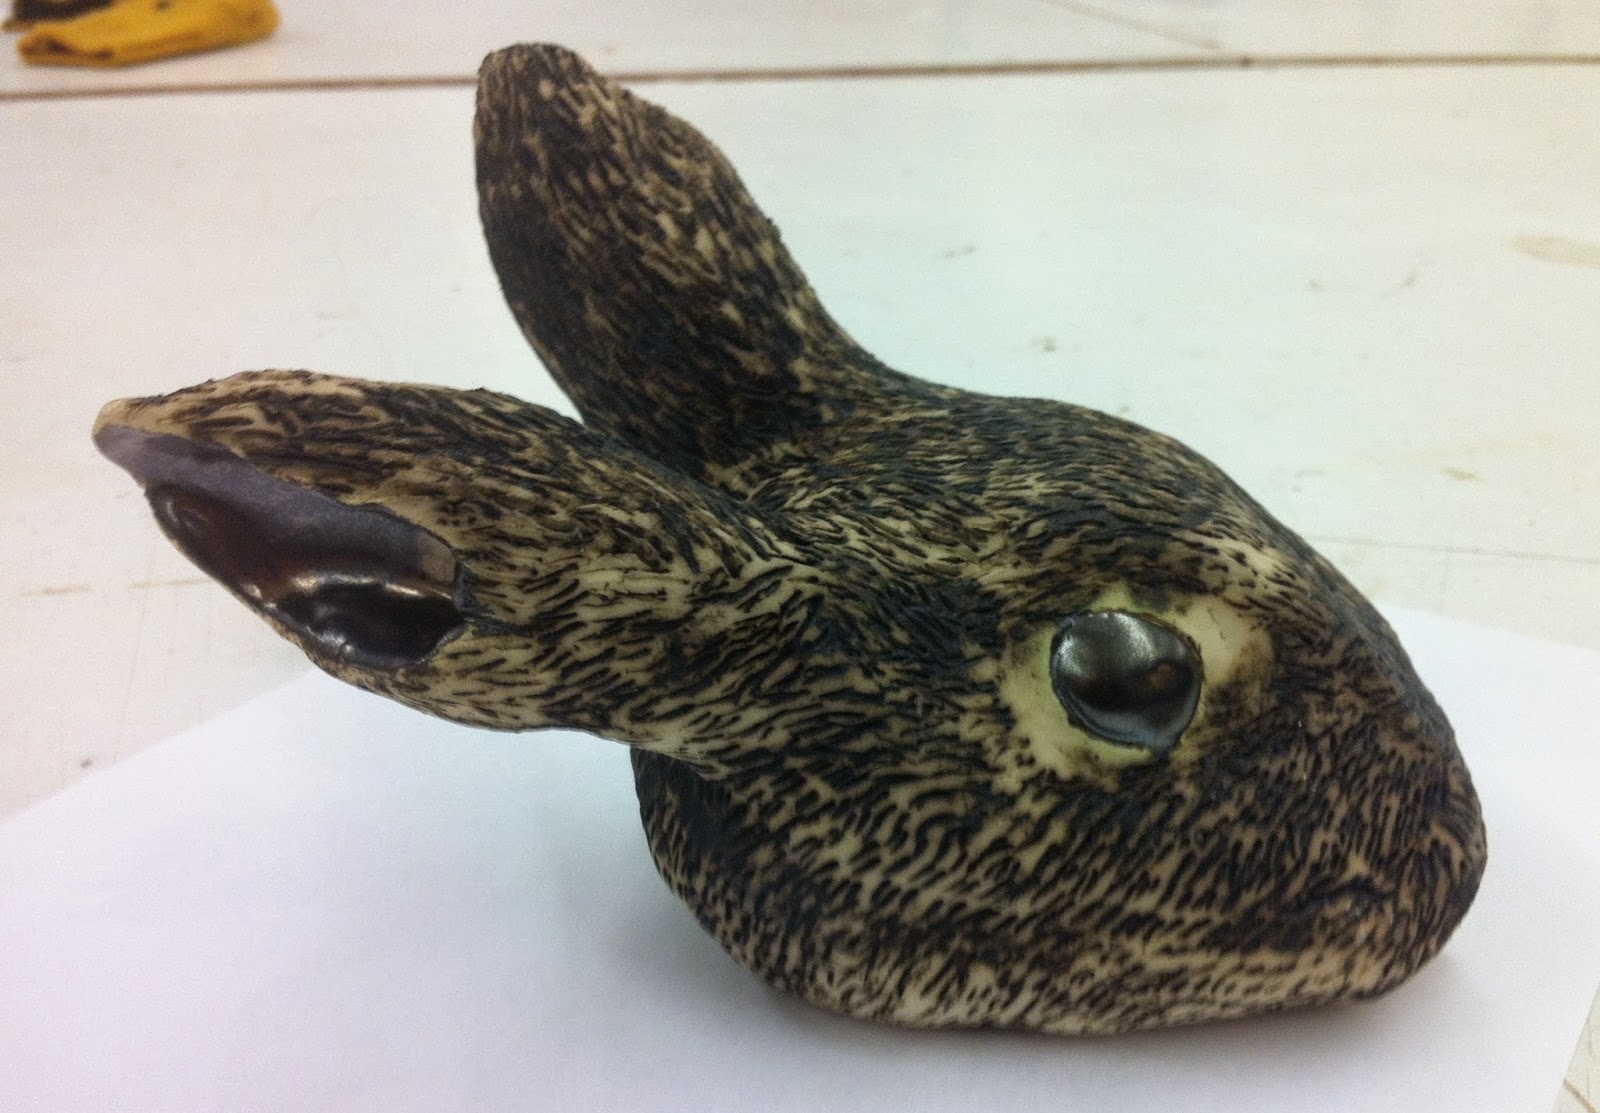
 I started some observational drawings using taxidermy animals. I had 5 minutes to draw a rough sketch of the animal's head in 3 different angles using pen. This was to get an idea of the shape of the animal's head, and what's underneath. Instead of concentrating on detail too much. This helped me understand the shape more so I could then move onto making a clay model of the head.
Once the model was taken out of the kiln it was then ready to be painted with clay paints. I used a dark brown for the fur, and a dark grey metallic colour for the eyes to give it a shine. I used 3 coats of the metallic paint to make sure it was thick enough, giving me the effect I wanted. This was then put back in the kiln to be fired once more.
 |
| Final Outcome |
Health and Safety:
- Work in a well ventallated area
- Clean and tidy the work space after use
- Make sure there is no clay dust remaining
- Wash all tools after use
- Keep bags and coats away
Materials:
- White clay
- Clay tools
- Clay paints


No comments:
Post a Comment