Tuesday, 2 December 2014

Clay Models


I started some observational drawings using taxidermy animals. I had 5 minutes to draw a rough sketch of the animal's head in 3 different angles using pen. This was to get an idea of the shape of the animal's head, and what's underneath. Instead of concentrating on detail too much. This helped me understand the shape more so I could then move onto making a clay model of the head.


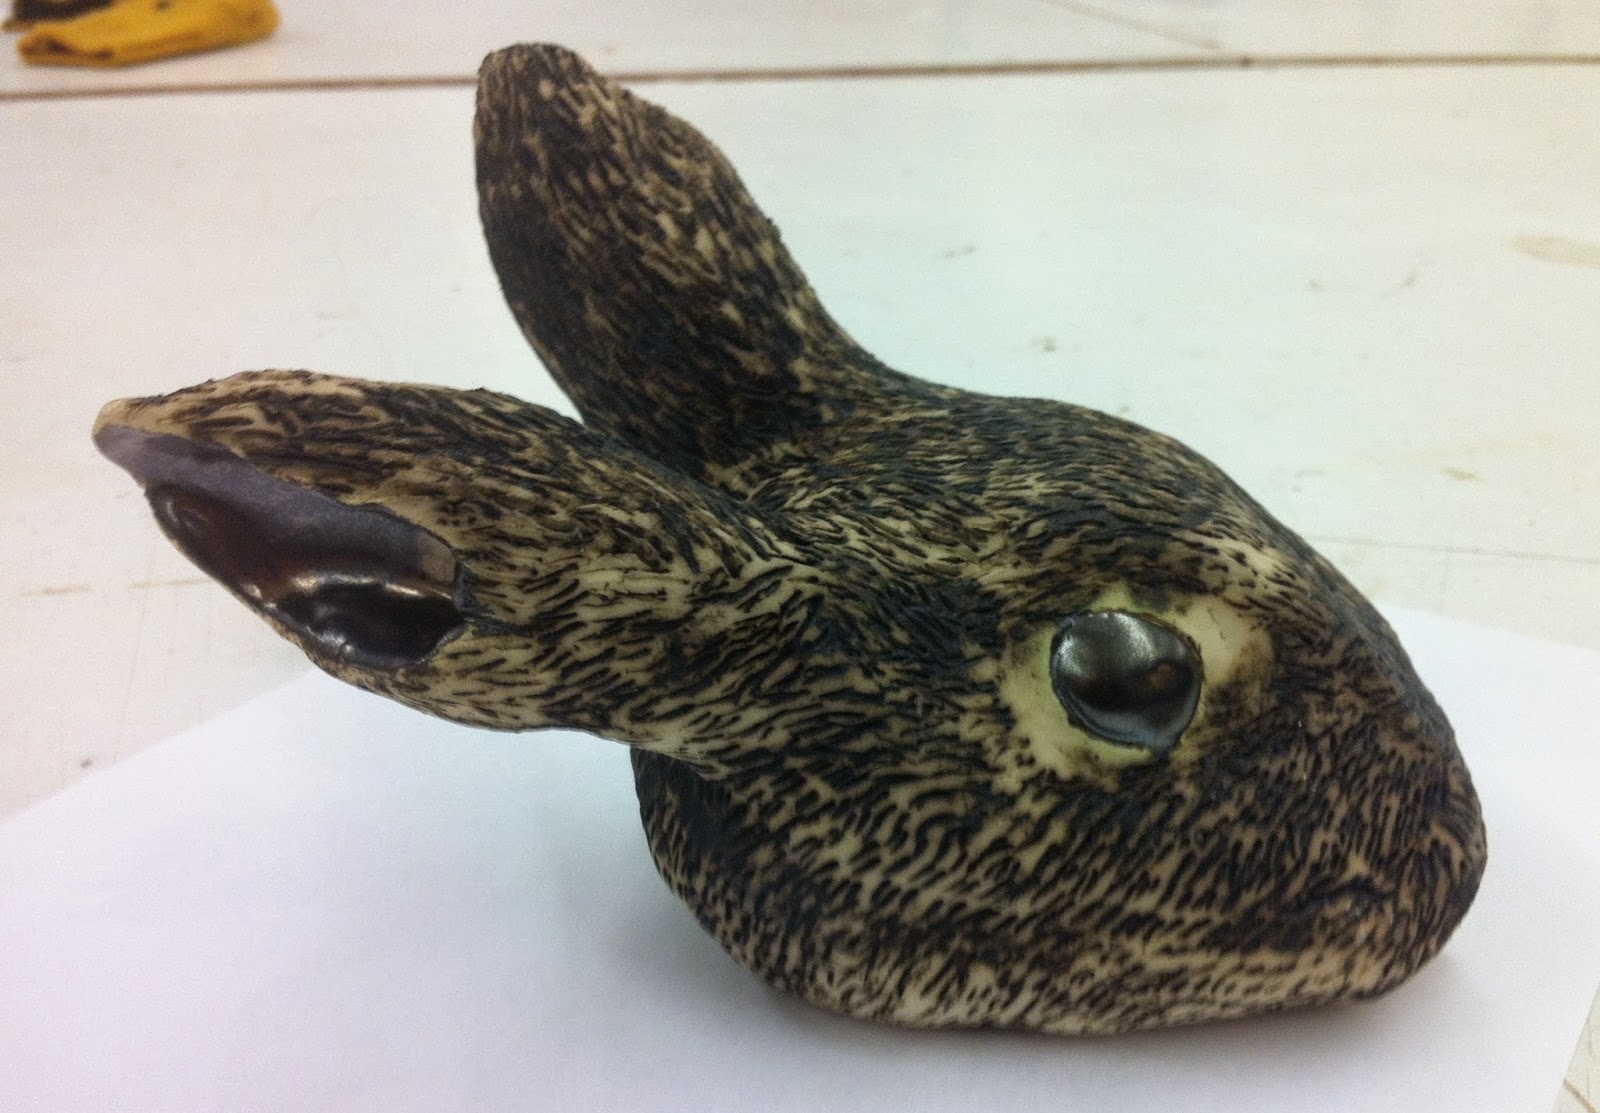
Using a lump of clay I rolled and smoothed it out into a spherical shape before molding it into the shape of a rabbit. Using the animals in front of me I was able to copy the exact shape and markings into the clay, leaving the detail to the end. Once the basic shape was made I then added some more clay to attach and make the ears, making sure they are well attached. Finer detailed were then added, like the eyes. For this I made 2 dents in the clay on each side and added 2 eye-shaped bits of clay in each one, using the score and slurry method to hold them in well. with a thing strip of clay I then blended them in a little. It was then time to add the texture and detail. I used one of the clay tools to create short markings all over the piece in different directions to make it look like fur. The piece was then ready to be fired.


Once the model was taken out of the kiln it was then ready to be painted with clay paints. I used a dark brown for the fur, and a dark grey metallic colour for the eyes to give it a shine. I used 3 coats of the metallic paint to make sure it was thick enough, giving me the effect I wanted. This was then put back in the kiln to be fired once more.


Final Outcome


Health and Safety:

  • Work in a well ventallated area
  • Clean and tidy the work space after use
  • Make sure there is no clay dust remaining
  • Wash all tools after use
  • Keep bags and coats away


Materials:

  • White clay
  • Clay tools
  • Clay paints


Monday, 10 November 2014

COSHH (Clay Health & Safety)


You need to make sure you are careful when working with clay, especially if you are a ceramicist and you are working with clay everyday.

 Hazards:

  • Ceramics work can produce  airborne  respirable crystalline silica (RCS).
  • All RCS is hazardous which can cause silicosis.This is a serious disease causing permanent disability and early death.
  • Silicosis is made worse by smoking.
  • 'Respirable' means that the dust can get to the deepest part of the lungs. This dust is invisible under normal lighting as it's so fine.
  • Remember that drips and spills that dry off are a source of dust.Keep inhalation of RCS as low as possible.
  • When all controls are applied properly, less that 0.1 mg/m3 RCS is usually achievable (based on an 8-hour time-weighted average).

Equipment:

  • Provide a good standard of general ventilation. Use powered fans to supply fresh air.
  • Use clay with a lower silica content.
  • Keep surfaces clean - never let slip, clay or glaze spills dry out.
  • Remember that handling  used moulds creates dust.
  • Use wire rather than elastic bands to hold moulds together.
  • Use a bin to collect scraps and damp slip.
  • Avoid hand sweeping. If this is not possible, damp down thoroughly before cleaning up.
  • Use a type H vacuum cleaner fitted with a HEPA filter to remove dry slip from mould exteriors.


Maintenance:

  • Clean down the equipment before starting maintenance - use wet or dustless methods
  • Daily, look for signs of damage. Noisy or vibrating fans can indicate a problem.
  • Get a competent engineer to examine the system thoroughly and test it's performance regularly.
  • Carry out air sampling to check that the controls are working well.

Cleaning and housekeeping:

  • Store empty bags outside the workroom. Dispose of waste safely.
  • Clean down the enclosure and equipment as soon as possible after use.
  • Use a type H vacuum cleaner fitted with a HEPA filter to clear up dust e.g. on overhead fittings.
  • Damp down and shovel large amounts carefully to avoid stirring up dust. Provide respiratory protective equipment (RPE).


COSHH Website Link
http://www.hse.gov.uk/coshh/

 Health & Safety at Work Act 1974
http://www.hse.gov.uk/legislation/hswa.htm

Sunday, 9 November 2014

Open Formed Pinch Pots

 
I designed and made 3 of my own Pinch Pots, using a handful of white clay to roll into a ball. Using my thumb, I then pushed into the center of the clay and started pinching the sides, making the pot larger and thinner. Once I molded the clay into the shape I wanted it was then left in front of the heater to dry a little while I concentrated on my other 2 pots. Each pot was left until they were leather hard so I could then add more clay if I wanted, and shaping them more.


Using the coiling method i managed to add more clay, making the pot taller. This was done by rolling out a piece of clay that was able to wrap round the top, using slip and scoring the edges so it connects well. This was then gently smoothed into the rest of the pot without pressing too hard as it would change shape. Once they were finished I used the kidney tools to smooth out the surface of the pots. These were then ready to be put into the kiln.

Materials:

  • White clay
  • Heater
  • Clay tools

Health & Safety:

  • Clean surfaces after use
  • Work in a well ventilated area
  • Keep bags and coats away
  • Wear an apron to protect clothing
  • Clean the floor
  • Wash the equipment after use
  • Wash hands 

Closed Form Pinch Pots


After making my open pots I then started to create 3 closed pots by creating  two dome shaped bowls out of clay and joining the 2 together by scoring the edges and using slip, making sure they are both an equal size to fit. This was to keep the sphere hollow and to punch holes in to the clay, so the pot doesn't explode in the kiln.I used different techniques to decorate the pots; punching holes through them, adding on parts of clay and adding texture by pressing into the clay. Using 2 handfuls of clay I made bowl shapes by pressing my thumb through the middle and pinching the outside lightly. Once they were about the same size they were tapped on the table to flatten the tops. Both were scored and the edge and covered with slip. I pushed the 2 parts together, making a spherical shape. The gap was closed up and smoothed out. Using a wooden stick to gently tap the outside, evening it out and and making the shape I wanted. This was then left to dry a little in front of the heater as I started my other two pieces.


Once the pieces were leather hard i was able to decorate them, using texture and adding parts of clay to them, keeping them abstract. Also, cutting out holes and printing textures on the surfaces. Each pot had to have a hole in it somewhere otherwise the air will expand inside and explode the pot when it's in the kiln. Once all the texture and parts were added, the pots were ready to be fired in the kiln.


Abstract Tiles

Using a range of different materials and techniques I made 4 tiles out of card, creating an abstract image on each one. I used many different materials to cut up and stick down, composing an abstract image and painting them with mostly bright, bold colours. Once I was happy I could then cut around the edges, making them look neat. This is a great way to create abstract images as the different patterns and shapes in the materials can make many textures in the pieces. These were then left to dry to be able to work into later, giving more detail.


The Pallant House Visit

On Tuesday the 16th of September we went to Chichester to The Pallant House Gallery to have a look around at Artist's work, taking photos and gaining ideas for our own work. We first looked at Barbara Rae's work as it compares to the collagraph prints we are making. Most of her works are 2ft by 2ft, full of colour and different markings. Most of the colours contrast with each other. I liked that her work was balanced with the use of colour and markings in her composition.


Prison Type Gasholders, 2004
I also liked Idris Khan's work as he builds up layers of imagery, making the structures of the buildings look old, weathered, haunting and ghost-like. Most of the photos were taken by Bernd and Hilla Becher. He would use their a few of each of their photos and place them on top of each other, changing the opacity that makes the ghost-like. The same effect can be done by using a slow shutter speed on a camera and moving the camera as you take the photo. His work is based on modern industrial structures that have been taken in black and white. A lot of his work look like etching prints with the fading images and grey tones. The use of the old structures he has used have worked well as all the outlines and shapes build up a distorted image as they are layered up on top of each other.

 
Bach Six Suites for the Solo Cello, 2006


http://www.theguardian.com/artanddesign/2006/sep/02/art


These are the two pieces that were shown at the gallery.

Tuesday, 7 October 2014

Felt Making


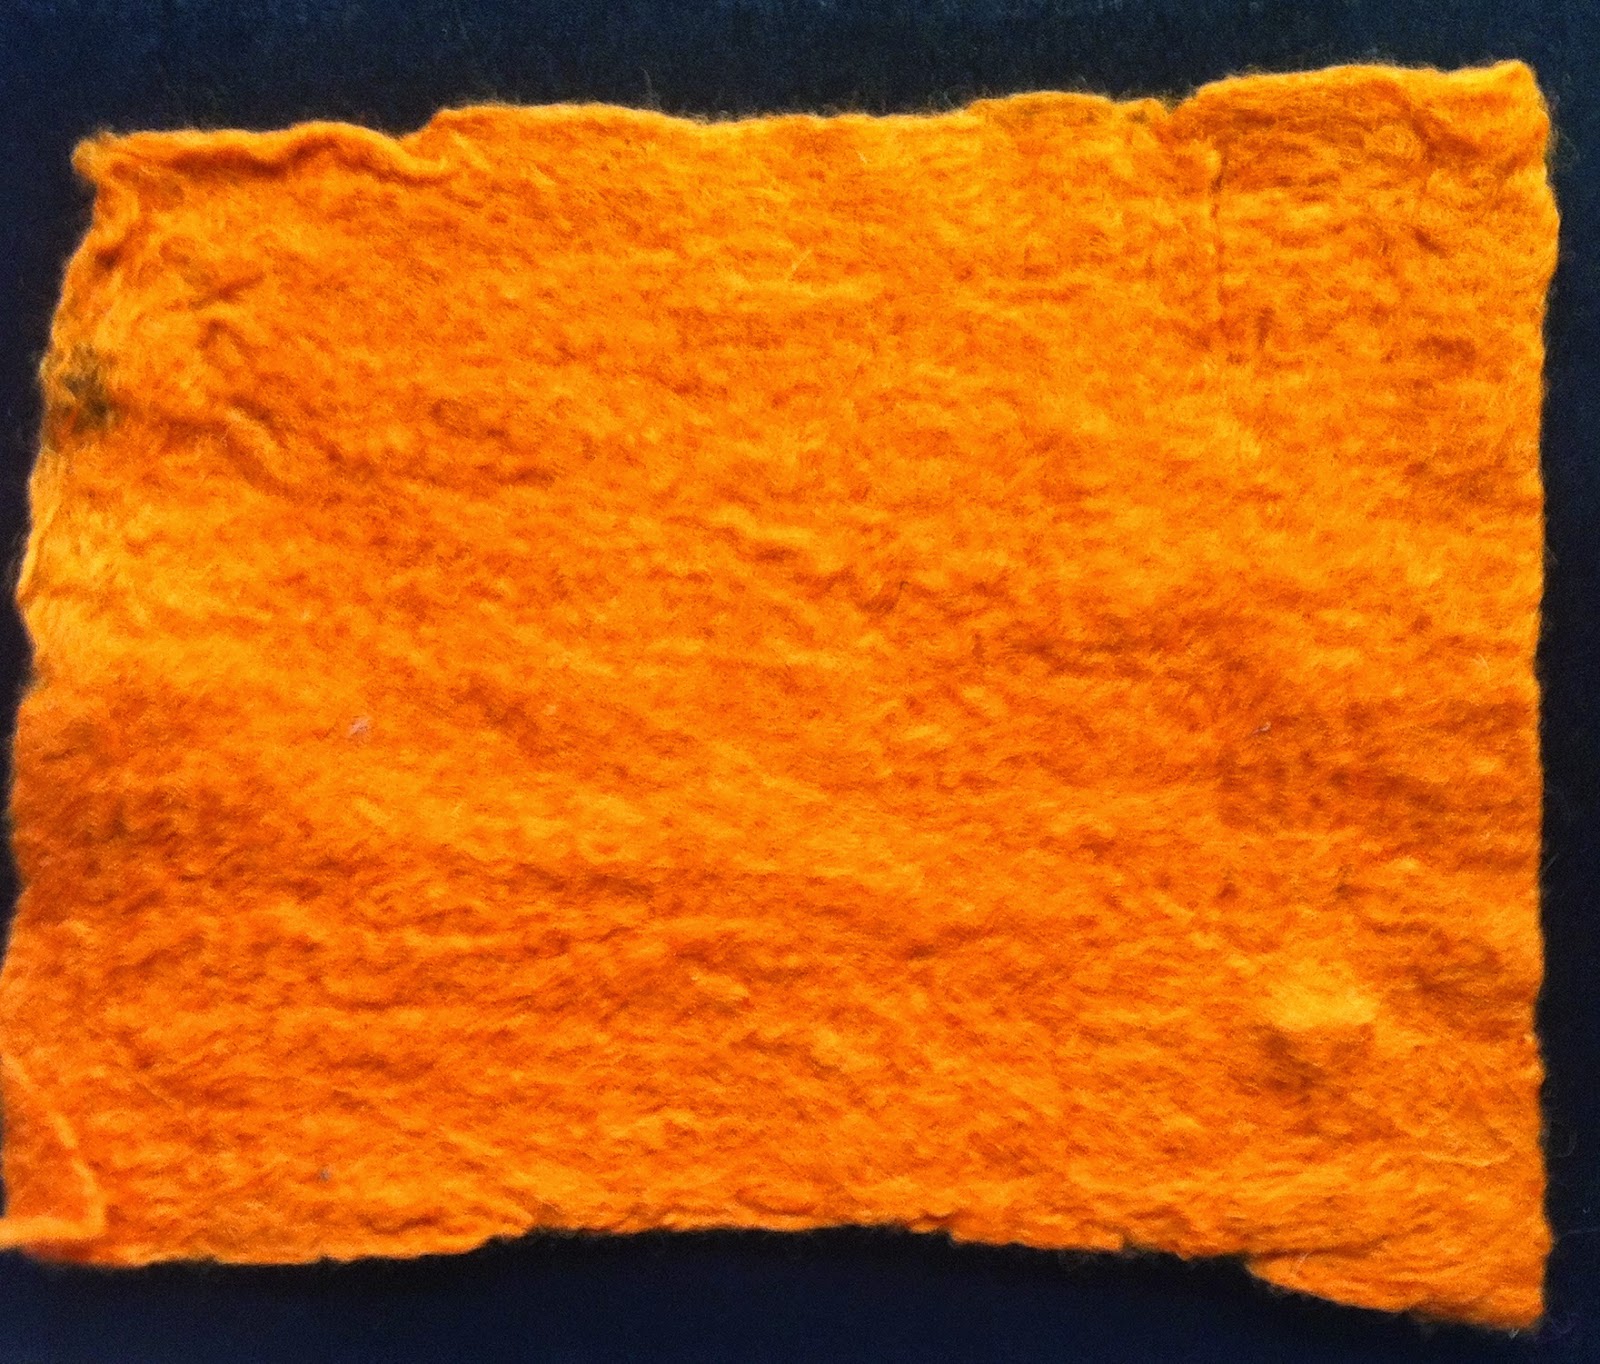
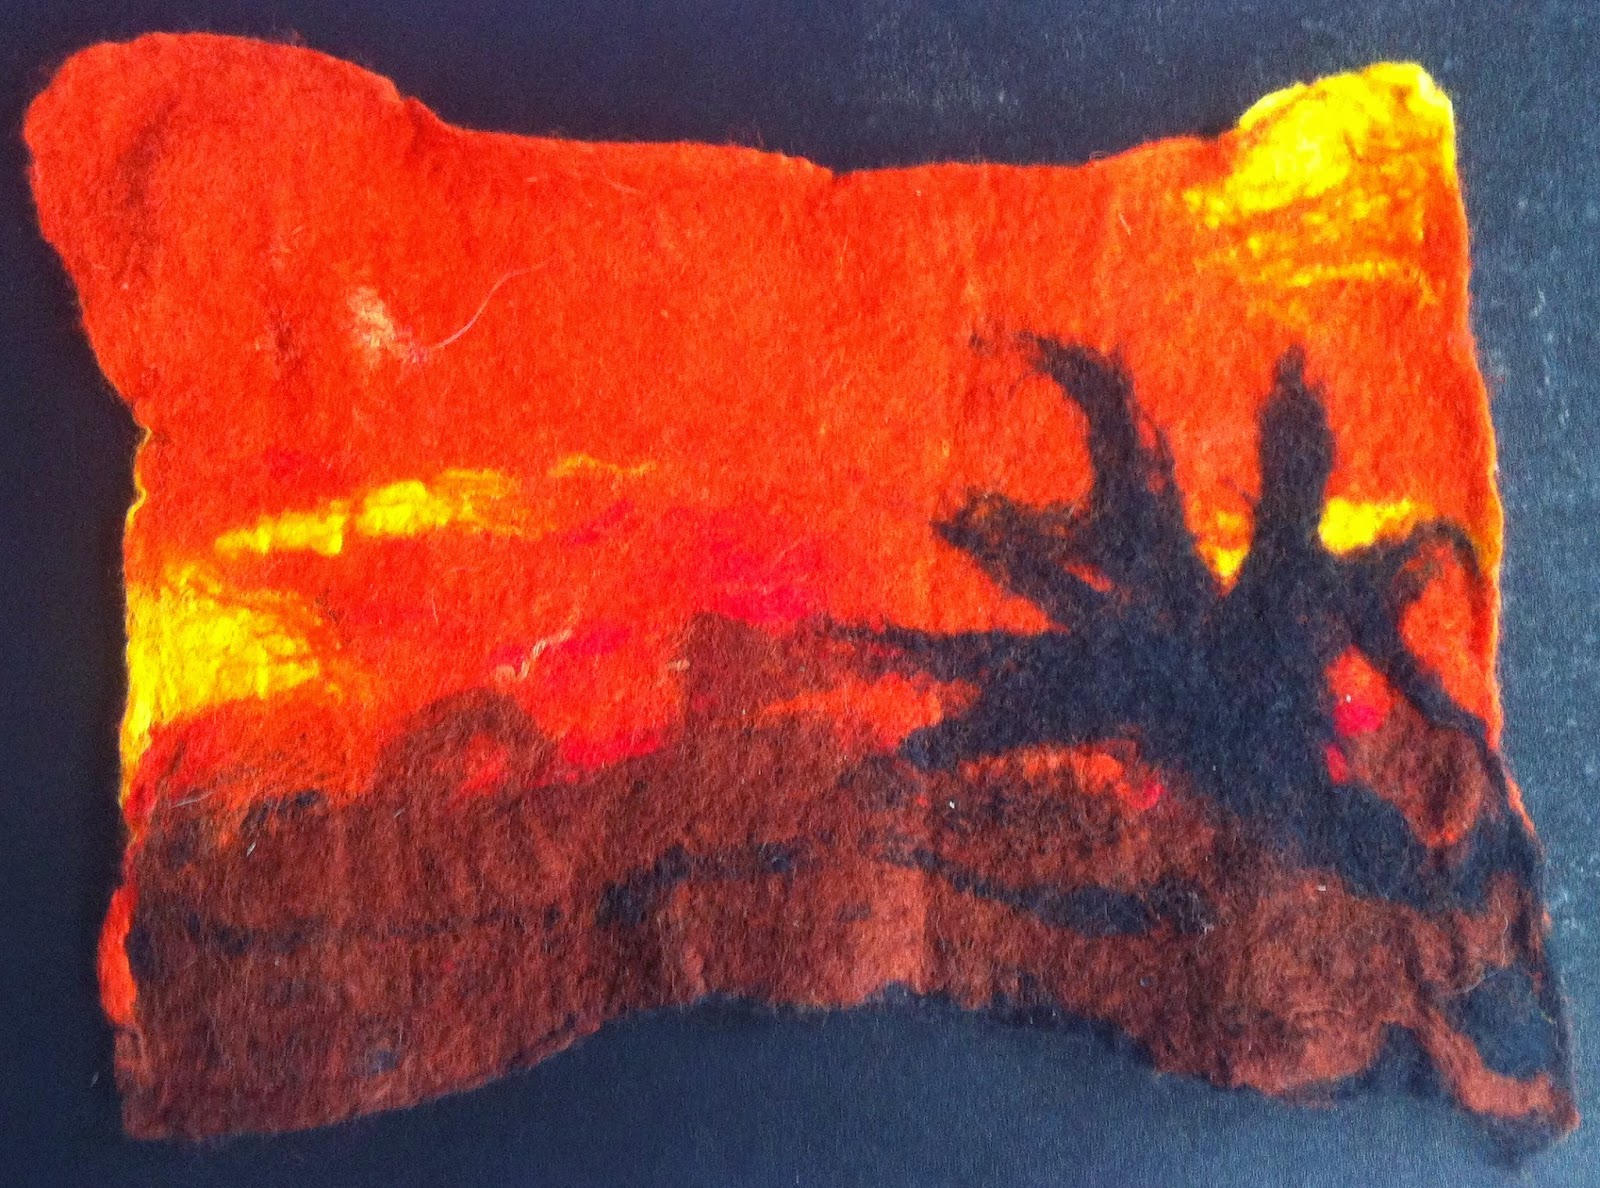
I made and mixed my own felt using dyed sheep's wool. Using bubble wrap underneath, the wool was pulled into separate parts and placed onto the bubble wrap, overlapping each piece and going in different directions. This made it easier dor the felt fibers to combine together.

Once all the colours and layers were built up a piece of netting was placed on top. Warm water was then splashed on top of the felt and net. A bar of soap was then used to brush on top of the felt and netting without disturbing the felt too much underneath. This made it soapy and easier to control.

Using the tips of my fingers I massaged the soap into the felt which was connecting all the fibers. The bubble wrap underneath was doing the same thing on the other side which helped combine them. The felt was then flipped over to do the same on the other side.

A bamboo mat was used to place the fabric on and roll it up. The roll was held vertically as using my hands to rub it together, drying out the felt and making it shrink. The felt was the flipped the other way to do the same which gave it a more even shape. These pieces were then rinsed in water and left to dry.

Material:


  • Dyed wool
  • Bubble wrap
  • Soap
  • Netting
  • Warm water
  • Bamboo mat

Health & Safety:

  • Clean up the area when finished
  • Wash all the equipment and rinse it after use
  • Keep belongings tucked away
  • Put all equipment away  


 Moy Mackay


Moy Mackay is a felt artist who combines traditional felt techniques with fine art. Her theme is of natural landscapes with the use of bright, contrasting colours. Her finished pieces are made to look like paintings as they are very detailed and look like watercolour paintings as the felt fibers intertwine together, however, they keep the texture of the felt. Moy Mackay has a lot of depth in her pieces as she creates a background and foreground, making them look realistic.


http://www.moymackaygallery.com/